Share:
Home Building Guide
Our Products
Useful Tools
Home Building Guide
Products
Share:
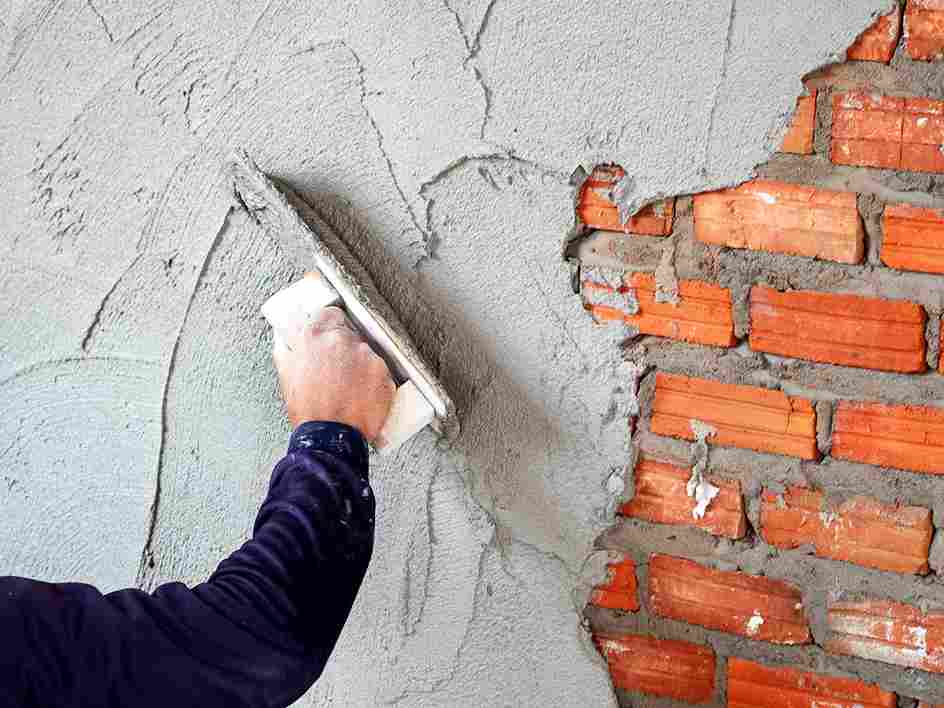
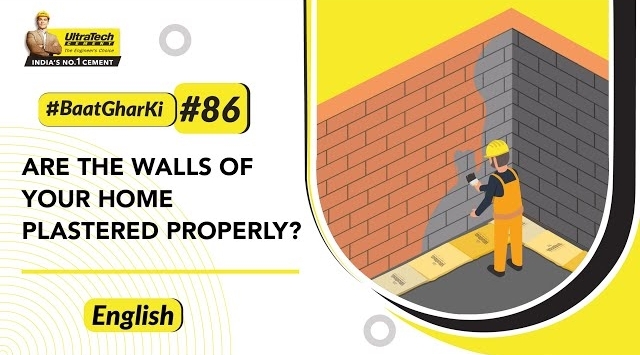
What is plastering? Plastering is the method of applying a smooth or textured coating over walls and ceilings using materials like cement, gypsum, lime, or mud. This coating protects the surface and improves its appearance.
Plastering forms a base layer for paint and finishes. Without proper plastering, walls remain weak and uneven, making them easy to crack.
Tip: Good plastering starts with proper surface cleaning and correct water usage.
There are many plastering types, each suitable for specific construction needs.
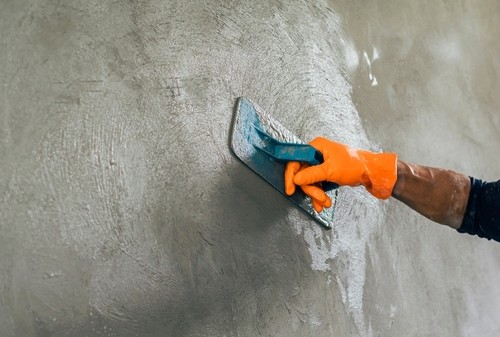
Cement plastering is the most common plaster type used in India. It is made using cement, sand, and water. This plastering method provides strong and durable surfaces suitable for both internal and external walls.
It is widely used because it offers good resistance to weather and moisture.
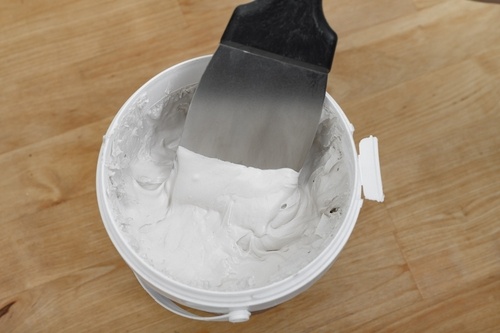
Gypsum plastering uses gypsum powder and water. It gives a smooth finish and dries faster than cement plaster. Plastering gypsum is mainly used for interior walls and ceilings. It does not require water curing.
Mud plastering is a traditional and eco-friendly plastering method. It uses clay, straw, and natural binders. This plaster type helps regulate indoor temperature and is suitable for rural homes.
Lime plastering uses lime, sand, and water. It is flexible and allows walls to breathe, reducing moisture buildup. This plastering type is commonly used in heritage buildings.
Waterproof plaster includes additives that resist moisture penetration. It is commonly used in bathrooms, kitchens, and external walls. This is one of the most practical types of plastering for high-moisture areas.
Tip: Use waterproof plaster only where required to control costs.
Stucco plaster is a decorative plaster finish used mainly on exterior walls. It provides a textured look and enhances visual appeal. It is durable and weather-resistant.
Plaster finishes affect the final look of walls.
Provides a flat, polished surface ideal for painting
A sand finish gives a grainy texture and hides minor defects.
Tip: Suitable for external walls.
Small stones are embedded in wet plaster for a decorative look.
Tip: Best for boundary walls and decoration.
Creates patterns using tools for design effects.
Tip: Use a textured finish to highlight feature walls.
The surface is scraped to give an even rough texture.
Tip: Ideal where minor surface irregularities exist.
A coarse finish is applied using mortar and aggregates.
Tip: Rough cast finish improves weather resistance.
The main purpose of plastering is to protect masonry surfaces, improve strength, and create a clean base for painting and finishing.
Plastering protects bricks and blocks from damage and wear.
Tip: Strong plaster increases wall life.
Plastering creates an even base for paint application.
Tip: Smooth plaster reduces paint consumption.
Plaster shields walls from sun, rain, and pollution.
Tip: External plastering is essential in harsh climates.
Plaster acts as a moisture barrier.
Tip: Waterproof plaster helps prevent moisture from entering walls.
Plastering improves the visual effect of walls.
Tip: Choose plaster finishes based on room usage.
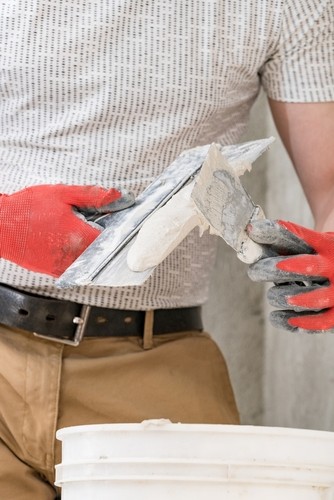
Proper plaster work requires careful preparation and correct method. Following the right steps ensures good bonding, correct plaster thickness for wall, and a smooth cement plaster finish that lasts for years.
Remove dust, loose particles, oil stains and old paint from the wall. If the surface is too smooth, roughen it slightly to improve bonding. Wet the wall lightly before plastering so that it does not absorb water from the plaster mix too quickly.
Prepare the mix using the correct cement-sand ratio for plastering, such as 1:4 or 1:6, depending on the application. Mix cement, sand and water properly to achieve the right cement, sand, and water ratio for plastering. The mix should be workable but not too watery.
Apply the first coat evenly on the wall using a trowel. Maintain proper plastering thickness as per requirement (usually 12 mm for internal walls and 15–20 mm for external walls). Press the mortar firmly to ensure strong bonding.
Use a straight edge or wooden float to level the plaster. Check vertical alignment with a spirit level. Proper levelling ensures uniform plaster thickness for the wall and avoids future cracks.
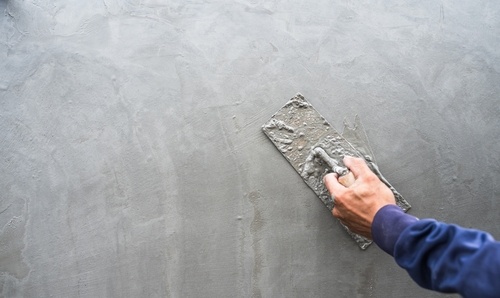
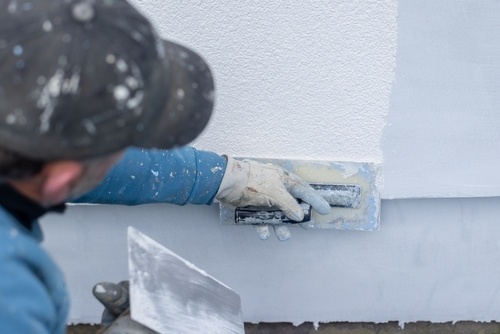
After the base coat sets slightly, apply a thin finishing layer for a smooth cement plaster finish. Smooth the surface using a steel trowel for a better appearance.
Start curing after 24 hours and continue for at least 7 days. Proper curing strengthens the plaster and prevents cracks. Regular water sprinkling helps achieve durable plaster work.
Tip: Follow curing guidelines strictly for best results.
Even when the right plaster type is selected, mistakes during application can reduce the life of plastered walls. One common mistake is applying plaster to an unclean or dry surface. Dust, loose particles, or a very dry wall can cause bonding problems, leading to cracks or peeling later.
Another frequent issue is incorrect mixing. Whether it is cement plastering, lime plastering, or gypsum plastering, the plastering mix ratio must be followed carefully. Adding extra water to make the work easier weakens the plaster layer. Poor curing, especially after cement plastering, is also a major reason for surface cracks.
Tip: Always clean and lightly wet the wall before plastering and follow the recommended mix ratio strictly.
Selecting the correct types of plastering depends on where the plaster will be used. For example, gypsum plastering is suitable for dry internal areas, while cement plastering works better for external walls and wet areas. Traditional homes may prefer mud plastering for better temperature control.
Understanding what plastering is and the purpose behind each plastering type helps homeowners make correct choices. The right selection improves durability, reduces maintenance, and enhances overall comfort inside the home.
Lime plaster is flexible and cracks less than cement plaster.
Curing or drying is the next step, depending on the plaster type.
Curing usually starts 24 hours after cement plastering.
Yes, after proper curing and drying.
It varies by plaster type and application.