Share:
Home Building Guide
Our Products
Useful Tools
Home Building Guide
Products
Share:
Spot leaks early from cracks, poor slope, or damage to avoid big repairs.
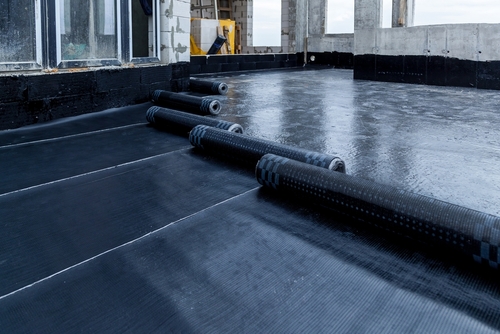
Use waterproofing and sealants for a quick roof leakage solution.
Maintain regularly with cleaning and checks.
Choose strong materials like concrete tiles for lasting results.
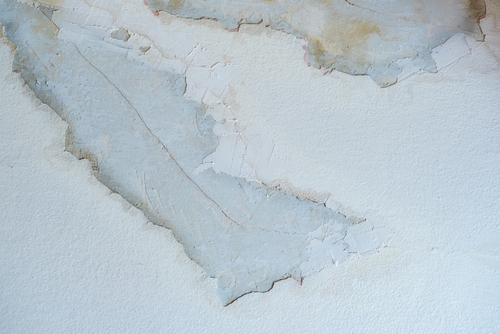
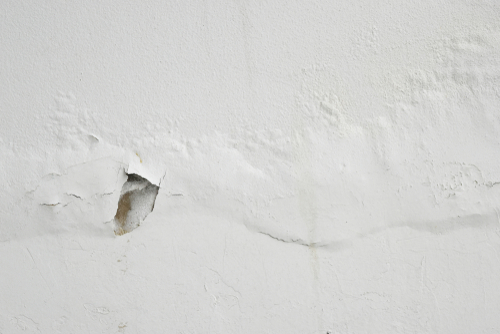
Roof leaks often start small but quickly cause big problems. Water seeps in through cracks or damaged parts, leading to wet ceilings, ugly mould growth, and weak structures that can become unsafe. Over time, this rots wooden beams and rafters, weakens the entire roof frame, damages insulation, and leads to much higher repair bills if ignored.
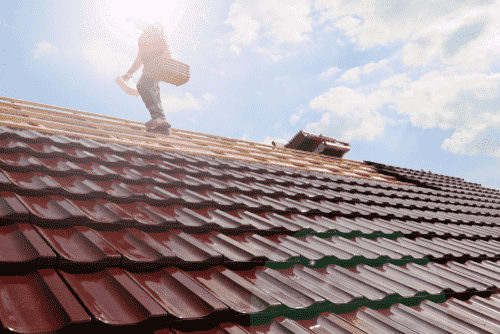
Common causes include cracks from daily heat expansion or house settling, poor roof slope that lets water pool instead of running off, damaged flashing around chimneys and pipes, broken or slipped tiles, lack of regular cleaning, trapped moisture from cooking steam or bathrooms, rust on metal nails and sheets, and simply old age after 20-30 years. Fixing these issues early saves money, prevents further damage, and keeps your home safe and strong for your family.
Tip: Check your roof after heavy rain or storms. Look for dark wet spots on the ceiling inside; that's a sign of a leak. |
Here are the top reasons roofs leak, explained simply. Spot them early to prevent trouble and save on repairs.
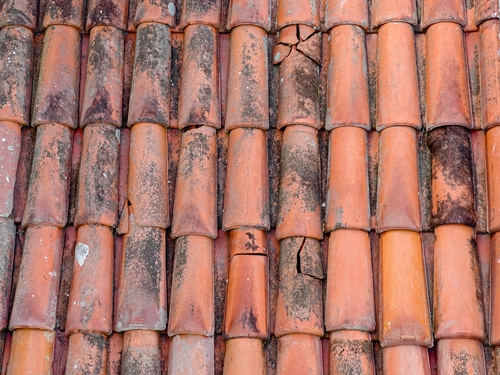
Daily heat makes roofs expand and contract. This creates small cracks over time. Water slips through these gaps during rain, starting leaks inside your home.
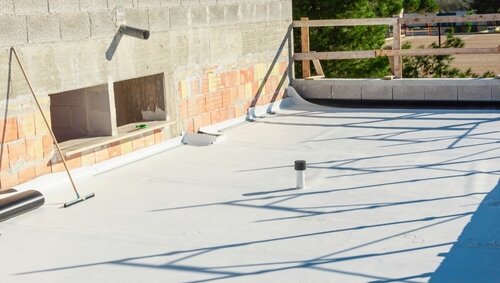
If the roof does not slant enough, rainwater sits in flat spots instead of running off to the gutters. Over months, this constant pooling wears down materials and causes leaks.
Flashing is thin metal fitted around chimneys, pipes, or skylights. When it rusts, loosens, or bends from the wind, water sneaks past into the roof layers.
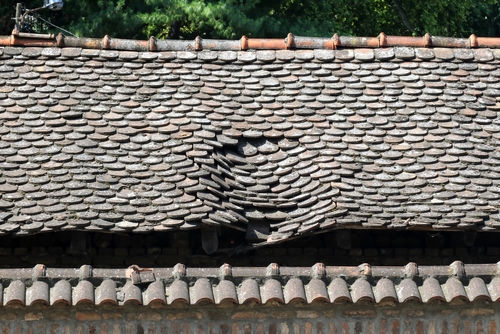
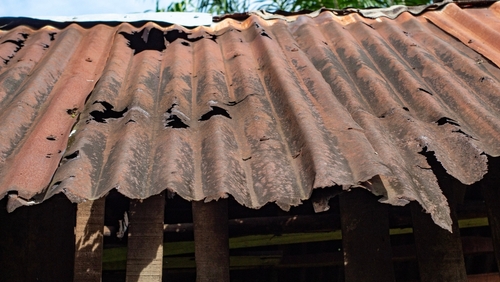
Broken, cracked, or slipped tiles leave open gaps. Strong wind, falling branches, or heavy storms often cause this damage. Rain enters directly through these holes.
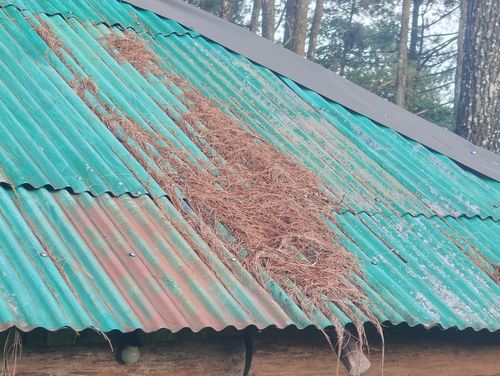
Dirt, leaves, and debris build up in gutters and on the roof. They block drains and hold water in place. This forces water to find weak spots and leak through.
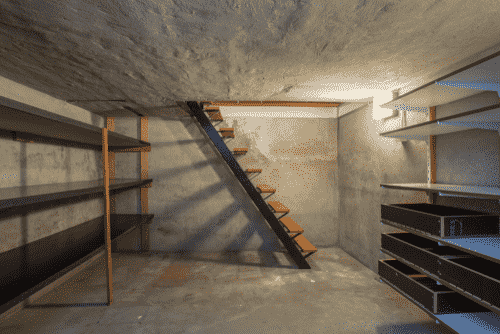
Steam from cooking, showers, or bathrooms rises into the attic. It gets trapped under the roof and turns back into water droplets. These drips cause ceiling stains over time.
Metal nails, screws, or roof sheets rust after years of rain exposure. Weakened metal lets water seep past into the wooden supports below.
Most roofs last 20-30 years, depending on materials. Over time, tiles crack, sealants dry out, and everything weakens. Regular checks catch problems before leaks start.
Tip: Clean gutters twice a year. This stops water buildup and extends your roof's life. |
Knowing these common causes helps you spot problems early and take action before small leaks turn into costly repairs.
You can repair a leaking roof without big costs if you know the right steps. These simple fixes work for leaking roof repair, ceiling leak repair, and quick sealing roof leak solutions. Always start from the outside when it is safe to reach, or handle fixes from inside your home for faster results until proper repairs happen.
Apply a waterproof coating over cracks and weak spots. This special paint fills gaps and stops water from passing through. Brush it evenly on clean, dry surfaces twice a year for the best results. It serves as a top roof leakage solution that lasts through heavy rains.
Clear leaves, dirt, and debris from gutters and the roof surface every three months. Check tiles and flashing once a year for early signs of wear. Regular care stops small problems from becoming leaks.
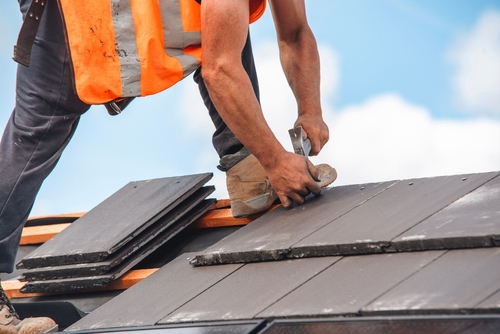
Fix loose or shifted tiles using cement mortar to hold them in place. Make sure each tile overlaps the one below it properly so water runs off easily. Good fitting prevents gaps where rain can enter.
Fill gaps around pipes, edges, or skylights with strong sealant. Choose flexible types that move with the roof in wind or heat. This blocks water at leaky joints and keeps your ceiling dry.
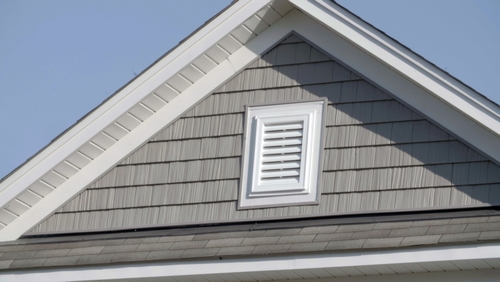
Install vents in the roof or attic to let out trapped hot air and steam. They stop moisture buildup from cooking or showers. Good airflow keeps the roof dry from the inside out.
Choose materials that stand up to rain and wind for long-lasting results.
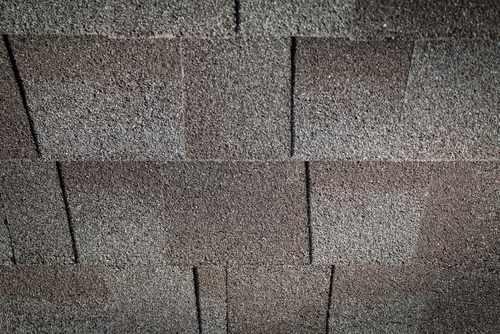
Asphalt shingles work well for easy fixes and low slopes.
Roll roofing suits flat roofs and simple repairs.
Wood shakes add style but need treatment against rot.
Concrete tiles offer strength and handle heavy rain best.
These steps make how to fix a leaking roof simple and effective for most homes. Start with the easiest fixes first, and call a professional for high or complex roofs.
Tip: For how to fix a leaking roof fast, use a flexible sealant inside on ceiling stains. It buys time until full repair. |
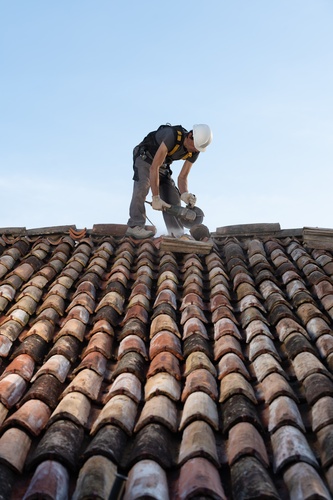
Follow these easy steps for permanent fixes that stop leaks for good. Always work safely and take your time to do each part right. This guide helps with how to fix a leaking roof at home without needing experts for small jobs.
Turn off power if you work near electrical wires to avoid shocks. Use a sturdy ladder with someone holding it steady. Wear a harness if the roof is steep, and never work alone or in bad weather. Safety keeps you safe while you repair a leaking roof.
From inside your home, mark wet ceiling spots with tape during dry weather. Go outside and spray water gently with a garden hose on different roof areas. Watch inside for drips to spot the exact entry point. This step makes leaking roof repair much easier.
Remove loose tiles, dirt, leaves, or old cracked sealant around the leak. Use a wire brush to scrub away grime. Let everything dry fully in the sun before fixing. A clean surface helps new materials stick well for ceiling leak repair.
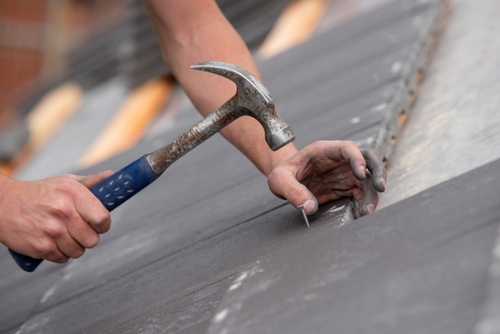
Seal small cracks with a waterproof cement mix that fills gaps tightly. Replace any broken or missing tiles with matching ones nailed securely. Straighten bent flashing around chimneys or pipes and secure it with nails. This stops water at the source for good.
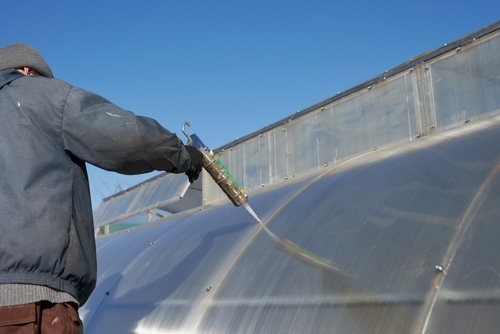
Spread a strong sealant or waterproof coating over repaired areas and joints. Use a brush or roller for even coverage on dry surfaces. Let it dry fully as per the product instructions, usually 24 hours. This seals roof leaks and protects against future rain.
Pour buckets of water over the fixed area or use the hose again to check for drips inside. Fix any remaining issues right away. Inspect your roof every six months and after storms to catch problems early. Regular checks keep your roof leak-free for years.
Tip: For heavy rain leaks, add extra roof slope with purlins if possible. Call a pro for steep roofs. |
A leaking roof harms your home and your peace of mind, but simple steps fix it fast when you act early. Small drips today can lead to weak beams and costly rebuilds tomorrow, so stay ahead with regular checks and quick repairs.
Think of your roof like a shield for your family, it takes daily weather beatings silently, but deserves your care in return. Use the fixes you've learned, from sealing cracks to proper venting, and watch how they transform wet worries into dry comfort.
Your home stays dry, strong, and safe for years ahead. Start your next roof check today and enjoy true peace of mind knowing you've got this covered.
Clean the damaged area first by removing dirt and loose bits. Seal cracks and gaps with a waterproof coating that fills them tightly. Fix or replace loose tiles with cement mortar. These steps work well for small leaks and save you from full roof replacement.
Find the exact cause by checking for cracks, broken tiles, or poor flashing. Repair it with quality sealant, cement mortar, or new parts. Then apply waterproof coating over the whole roof area for long-term protection. This stops leaks from coming back even after heavy rains.
Clear all blockages from gutters and drains first to let water flow freely. Seal joints around pipes and edges with strong, flexible sealant. Use wind-resistant tiles that stay in place during storms. Waterproofing the surface helps most by blocking water entry completely.
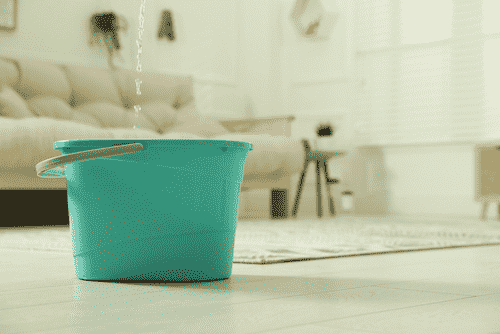
Locate wet ceiling stains and clean them dry. Patch the area with flexible sealant that sticks to plaster and moves with the ceiling. Place a bucket underneath for drips. This does quick ceiling leak repair until you can fix the roof properly from outside.