


Share:
Home Building Guide
Our Products
Useful Tools
Home Building Guide
Products
Share:
Spot crack types early, because hairline and shrinkage cracks are easy DIY fixes, while settlement or structural cracks need an expert.
Act on causes of cracks in walls like moisture, soil settling, or poor mixes to stop them from spreading further.
Always clean cracks first, then use flexible fillers for plaster wall cracks, strong grout for concrete wall crack repair, and mesh tape for drywall.
Prevent future issues by properly curing new plaster, fixing leaks quickly, and installing expansion joints in long walls.
Take quick action for wall crack repair now, because it avoids water damage, insects, and expensive repairs later.
Wall cracks appear for many reasons. Sometimes the building settles into the ground. Other times, changes in temperature or moisture cause them. Poor construction materials can also lead to cracks in walls.
Tip: The best time to inspect your walls is right after heavy rain or a hot spell. Moisture and heat make cracks expand and darken, so they're much easier to spot than on a dry, mild day.
Poor construction materials weaken over time, unable to handle daily movement. Even tree roots nearby can push soil and cause uneven settling. These causes of cracks in walls are common in homes of all ages.
Small cracks might seem harmless, but they can turn into big headaches if ignored. Acting fast with wall crack repair protects your home in key ways.
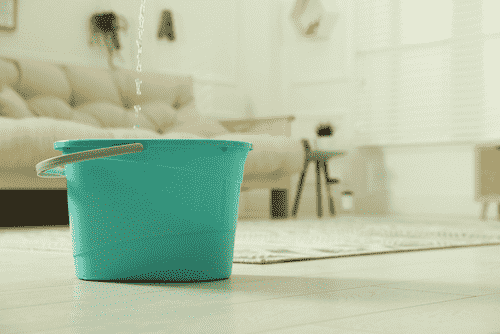
1. Water damage: Rain seeps through cracks, soaks deep into walls, causes rot, and leads to ugly mould growth.
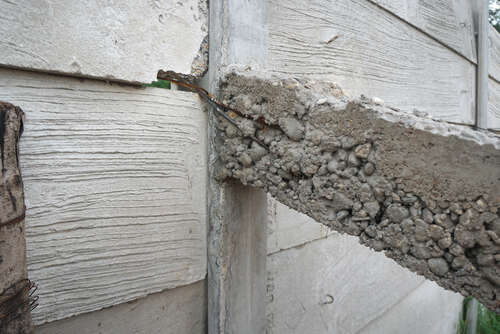
2. Weak structure: Constant moisture softens plaster and concrete, making walls unstable and prone to bigger breaks.
3. Unwanted visitors: Tiny gaps let in dust, insects, and even rodents, turning your home into an unwelcome spot.
4. Ugly appearance: Cracks widen over time, crack paint, and spoil the smooth, fresh look of your rooms.
5. Higher costs: Putting off fixing cracks in walls means small jobs become major, pricey rebuilds down the line.
Early wall crack repair saves money and keeps everything strong against the weather. Your home stays safe, beautiful, and comfortable for years.
Tip: Fix cracks before painting. This gives a smooth finish that lasts.
Walls crack in different ways, each telling a story about what's wrong. Spotting the type helps with the right wall crack repair. Here's what to look for:
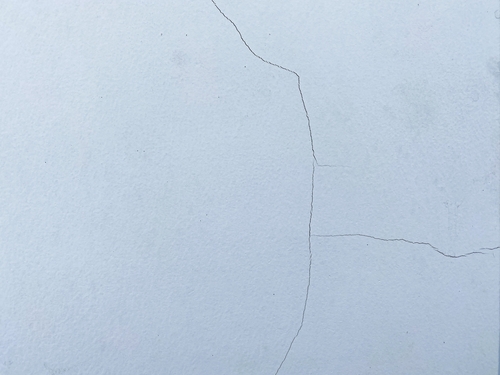
Very thin lines, under 1mm wide, like a faint scratch. Usually cosmetic and common in new plaster walls as they dry. They rarely cause harm but can let in moisture if ignored.
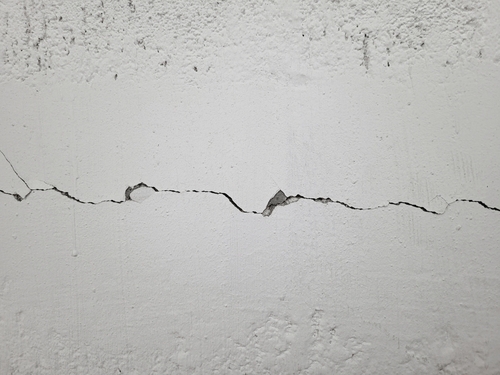
Straight, fine lines from materials drying out and shrinking. Often appear near corners or joints in plaster or concrete. These are normal in fresh builds but seal them to stop growth.
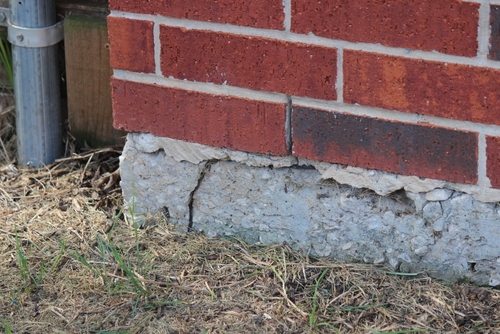
Wider at the top and narrower at the bottom, from the ground shifting under your home. Common in new houses as the soil settles. Watch if they widen over time.
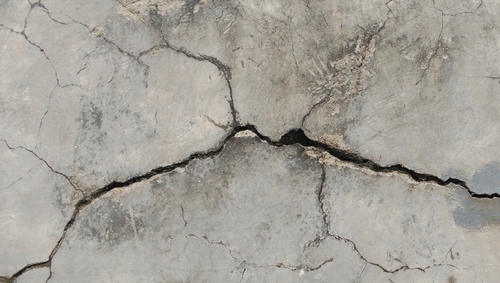
Thick, uneven, jagged, or steadily growing. They run diagonally or in steps, signalling deeper issues such as foundation problems. Always call an expert for these.
Knowing these types makes fixing cracks in walls straightforward and safe.
Tip: Use a tape measure to check crack width. Anything over 3mm needs attention.
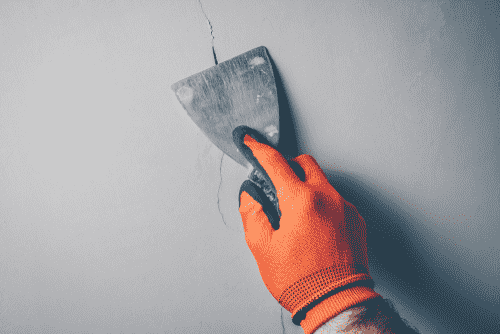
Wall crack repair depends on your wall type: plaster, concrete, or drywall. Start every job the same way: clean the crack well. Remove dust, loose bits, and old paint with a stiff brush, vacuum, or damp cloth. This helps the new filler stick strongly. Wear gloves and work in a ventilated space for safety.
These thin plaster wall cracks are quick to fix at home.
1. Widen the crack slightly with a scraper or old knife for better grip.
2. Mix or use ready-made filler or plaster, apply with a putty knife.
3. Smooth the surface flat and let it dry for 4-6 hours.
4. Sand lightly with fine paper until smooth, then paint to match.
Tip: Use a flexible filler for plaster wall cracks. It moves with the wall.
Concrete wall crack repair needs tougher materials to handle outdoor weather.
1. Clean deep with water and a wire brush to remove dirt and loose concrete.
2. Brush in cement slurry (thin cement mix) to fill tiny gaps.
3. For wider cracks, use polymer-based grout, press it in firmly with a grout gun or trowel.
4. Smooth the surface level and keep it damp with water for 3 days to cure properly.
Tip: Dampen the crack area before filling for concrete wall crack repair, which stops the new grout from drying too fast and cracking.
Drywall cracks happen from settling or knocks, easy to hide.
1. Press fibreglass mesh tape firmly over the crack for reinforcement.
2. Spread joint compound over the tape with a wide knife.
3. Let dry (about 4 hours), then add 1-2 more thin layers, sanding lightly between each.
4. Prime the spot, then paint when fully smooth.
Tip: Thin the joint compound with water for easier spreading.
Wall Type | Best Filler Material | Drying/Curing Time |
Plaster | Ready-mix filler | 4-6 hours |
Concrete | Polymer grout or slurry | 24-48 hours (cure 3 days) |
Drywall | Joint compound + mesh tape | 24 hours (multiple coats) |
Follow these steps for lasting results in fixing cracks in walls. If cracks are over 1cm wide, get professional help.
Prevention beats repair every time, stops cracks in walls before they start. Simple habits during building and daily care make a big difference. Here are practical ways:
1. Use quality materials: Start with strong cement and plaster. They shrink less and hold up better against settling.
2. Control moisture: Fix roof or pipe leaks right away. Dry walls resist cracks from swelling and shrinking.
3. Right building mix: Follow the proper cement-sand-water ratio. Too much water causes weak, crack-prone walls.
4. Add expansion joints: In long walls or big rooms, include gaps that let materials move without cracking.
5. Protective paint: Apply crack-resistant or flexible coatings after repairs – they bridge small gaps as walls shift.
6. Cure new plaster: Lightly spray water on fresh plaster walls for 7 days. This slow drying prevents shrinkage cracks.
7. Steady indoor air: Use fans or dehumidifiers to keep humidity even. Avoid sudden hot-cold changes.
8. Handle with care: Stop heavy bangs or leaning objects against walls – they dent and crack easily.
Tip: Water your walls lightly for 7 days after plastering. This keeps them moist and stops fast-drying cracks.
These steps mean fewer worries about causes of cracks in walls and smoother home maintenance.
Cracks in walls do not mean your home is weak; most are just signs of settling soil, drying plaster, or temperature shifts, as we covered earlier. Hairline or shrinkage cracks are often quick DIY fixes, while settlement or structural ones guide you to call in help.
Understand these causes of cracks in walls and pick the right steps: flexible fillers for plaster wall cracks, strong grout for concrete wall crack repair, or mesh tape for drywall. Prevention like proper curing, moisture control, and quality cement, keeps new cracks away for good.
Your home deserves strong, smooth walls that last for generations. Follow these insights for fixing cracks in walls, and you'll enjoy peace of mind. Ready to check your walls today? Grab reliable repair products and start strong.
Measure the width. Cracks wider than 3mm or growing fast need a professional check. Diagonal or stepped cracks often signal settlement.
Yes, small hairline cracks in new plaster are common. They happen as materials dry. Fill and paint them.
Cosmetic cracks are thin and straight. Serious ones are wide, uneven, or run through corners and doors.
Waterproofing stops water worsening cracks. It does not fix the crack itself. Seal cracks first, then waterproof.