


Share:
Home Building Guide
Our Products
Useful Tools
Home Building Guide
Products
Ultratech Building Products
Share:
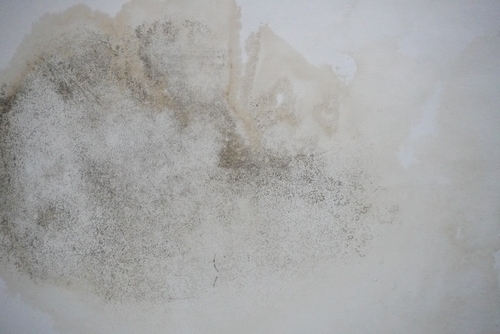
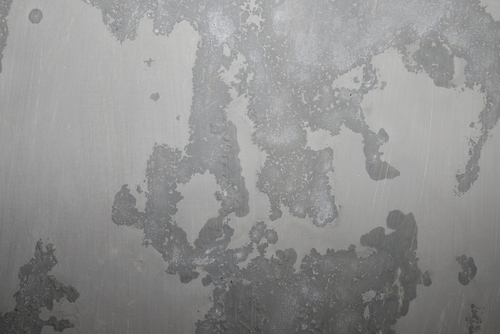
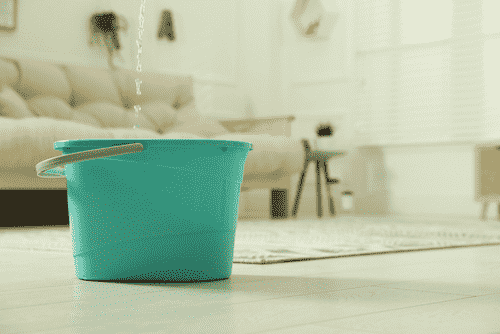
Is This Your Problem?
If you said yes to even one, keep reading. This guide will help you fix it before it becomes a bigger problem. |
Before you can stop seepage, you need to know where it starts. Most wall water problems come from these three construction mistakes.
The foundation is the part of the wall that first touches the ground. If it isn't sealed well, water from the soil slowly climbs up the wall, like a paper towel soaking up a spill. This is called capillary action, and it is one of the most common reasons walls stay damp for years.
Without a proper wall seepage solution at this stage, water keeps rising no matter how many times you paint over it.
Water and drainage pipes in your house are often hidden inside the walls. If a pipe joint is loose or a pipe is not fitted properly, it can slowly leak water inside the wall. Over time, this can lead to damp patches, peeling paint, and seepage.
This kind of leak is tricky because you cannot see it. The wall may look fine on the outside, but water can quietly damage it from within.
Watch out for these common plumbing mistakes during construction:
Pipes are joined without proper sealant
Pipes are pressure tested only after the wall is closed
Drainage pipes are not sloped correctly
Bathroom and kitchen pipe joints are covered without checking for leaks
Outer walls face rain, sun, and weather year-round. If the bricks or blocks used are porous, they soak up water every time it rains.
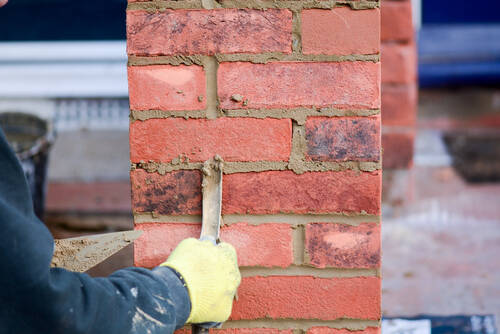
Cracks in plaster, gaps around window frames, and low-quality mortar (the paste that holds bricks together) all give water an easy way in. Over time, this weakens the wall and lets moisture travel indoors.
The Part Most People Don't Know! The damp patch you see is often not where the water first entered. Water can travel sideways or downward for several feet inside a wall before it shows up on the surface. That is why guesswork rarely fixes seepage. Finding the real source matters more than treating the visible patch. |
Not every wall needs the same treatment. The right water leakage solution for wall problems depends on where the water is coming from and how bad it already is.
Look closely before you choose a fix. Water can travel far from where it first entered, so the damp patch you see is not always the source.
Use this simple table to narrow down the likely cause:
Sign You Notice | Likely Source | What Usually Helps |
|---|---|---|
Damp patch near the floor | Foundation seepage | Waterproofing at the base |
Wet patch near a bathroom wall | Plumbing leak | Pipe pressure test and repair |
Damp patch after rain, outer wall | External wall seepage | Waterproof plaster and crack sealing |
Musty smell, no visible mark | Hidden pipe leak | Full plumbing check before finishing |
Once you know the source, choosing the right wall seepage solution becomes much easier.
Many seepage problems start when waterproofing becomes an afterthought. You may save time during construction by skipping a step, but repairing a finished wall can take more time and money later.
Here are some common mistakes to avoid:
Applying waterproofing only after seepage appears.
Ignoring the foundation while protecting the walls.
Covering plumbing before checking for leaks.
Allowing water to collect near external walls.
Using waterproofing materials without following the recommended mixing instructions.
Assuming paint alone can solve a seepage problem.
Treating every damp patch as the same problem.
Skipping waterproofing in areas that regularly contact water.
A complete wall seepage solution needs attention from the foundation to the finishing stage.
Before You Finish the Walls, Check This ☐ Foundation waterproofing applied and properly cured. ☐ Plumbing pressure tested and leak-free ☐ Waterproofing chemicals added to the plaster and mortar mix ☐ External walls plastered with a waterproof coating ☐ Every pipe joint checked before the wall is closed ☐ Contractor has confirmed the correct curing time was followed Print this list and tick every box before applying the final coat of paint. |
Not all waterproofing chemicals work the same way; some suit outer walls, some suit foundations, and some suit bathrooms and other wet areas.
Keep these points in mind while choosing one:
Check if it suits the specific area, such as the foundation, roof, or bathroom
Choose one that lets the wall breathe instead of trapping moisture inside
Look for a tested product that meets recognised quality standards.
Ask your contractor about the correct application, number of coats, and how long the product needs to cure (dry and set) before the next step.
Skipping these steps is one of the most common reasons a wall seepage solution does not last.
Good material choice matters, but it only works when paired with correct practice. Use quality cement, allow proper curing time, and mix mortar correctly for lasting protection.
Use cement in combination with appropriate waterproofing systems in areas that remain exposed to moisture, such as bathrooms, retaining walls, and foundations.
Even the best wall seepage solution fails if plaster is applied too thin, curing is rushed, or joints are left unsealed. Insist on proper practice at every stage, not just good materials.
For Better Protection Against Dampness! If you want cement with added protection against dampness, consider Weather Plus Waterproofing Cement for reliable construction. |
Wall seepage becomes much easier to manage when you prevent it during construction. Inspect the foundation, plumbing, drainage, and external walls at appropriate stages of construction. Use suitable waterproofing materials and follow the correct application and curing practices.
You do not need to remember every construction detail. Just remember three things: waterproof at the right stage, check water pipes before covering them, and choose materials suited to each area. These simple steps can help create a lasting wall seepage solution.
Treat water seepage in building walls best during construction. Waterproof the foundation, check plumbing before closing the walls, and add waterproofing chemicals to the plaster and mortar mix. This is the most reliable wall seepage solution for new construction.
Waterproof cement, waterproofing chemicals in plaster, and good-quality bricks or blocks, used together, give the best protection. The right combination depends on the wall's location and how much water it faces.
No waterproofing system is completely maintenance-free. Long-term protection requires proper design, execution, and periodic inspection.
Common options include integral waterproofing compounds mixed directly into plaster and mortar, and surface coatings applied on outer walls. A qualified engineer or waterproofing specialist can recommend the appropriate waterproofing system based on the exposure conditions and construction details.
Yes. Waterproofing works best on newly constructed walls because you can apply it before the wall is closed up or finished. This is why builders are encouraged to plan a wall seepage solution before construction starts, not after problems appear.
Waterproofing should start at the foundation stage and continue through plastering, before painting begins. Doing it early, rather than after finishing work, gives the best and most lasting wall seepage solution.