


Share:
Home Building Guide
Our Products
Useful Tools
Home Building Guide
Products
Ultratech Building Products
Share:
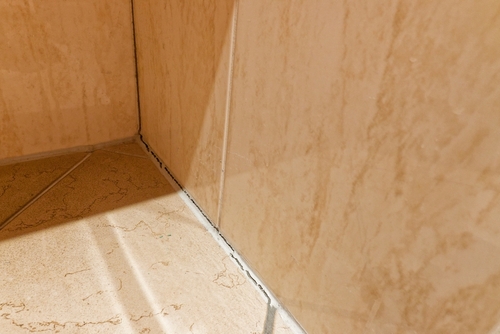
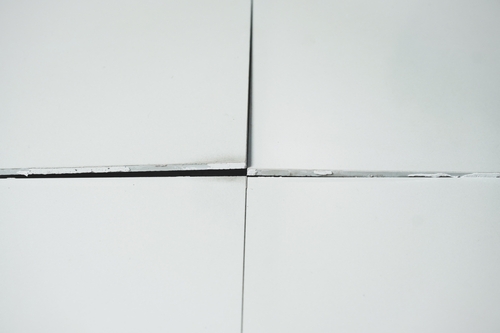
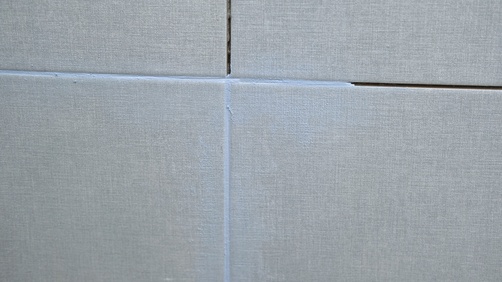
Check If This Sounds Like Your Tiles
☐ You can see thin lines forming along the grout ☐ Bits of grout crumble or fall out when you touch them ☐ The grout looks lighter, cracked, or shrunk compared to before
If you said yes to even one of these, keep reading. This guide will help. |
Grout cracking rarely happens for just one reason. Most of the time, it is a mix of a few small mistakes made before the grout even dries.
It usually comes down to four things that go wrong during installation.
Grout is a powder that turns into a paste once you add water/ additives. Mixing it the wrong way is one of the biggest reasons grout ends up weak and cracked.
If you mix too fast, tiny air bubbles get trapped inside. If you mix unevenly, some parts stay weak while others turn hard. Both problems lead to cracks over time.
Grout needs just the right amount of water to set well. Too much water/ additives or too little water can both cause problems for cement-based grout.
Extra water makes the grout weak and causes it to shrink as it dries. Too little water makes the grout hard to spread, and it may not fill the joint fully. The right water-to-grout ratio makes all the difference.
Grout needs a clean and steady tile joint surface to hold onto. If the tile joint surface is not ready, the grout has nothing strong to grip.
Dust, loose bits, or leftover moisture near the tile edges stop the grout from sticking properly. This weak grip leads to gaps, and the grout can even fall out completely.
Sometimes, the problem is not the grout at all. It is what lies beneath the tiles.
Floors and walls move slightly due to temperature changes or the structural movements of a building over time. Grout cannot stretch much, so even small movements can crack it over time.
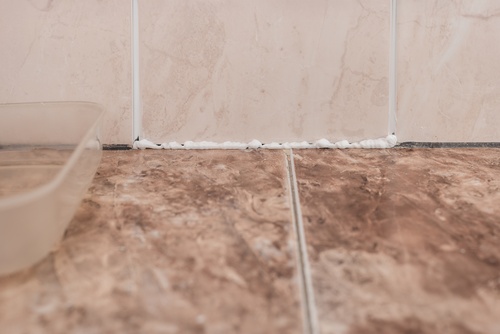
The Part Most People Don't Know Grout is generally rigid and is not designed to accommodate significant movement. In corners, edges, and other joints where movement is expected, a suitable flexible sealant such as caulk may be used instead of grout. |
The table provides a quick overview of why grout cracks and the factors that can cause it:
Cause | What Happens |
Improper Mixing | The grout isn't mixed properly, so it becomes weak once it dries. |
Wrong Water / Additive Addition | Too much or too little water changes how strong the grout becomes. |
Poor Surface Prep | The area wasn't cleaned or prepped before the grout went in. |
Movement Below | The floor or wall underneath undergoes movement, and the grout cannot handle it. |
You now know why grout cracking happens during installation. A crack in tile grout can also show up much later, once the tiles have already been in use for a while.
Once tiles are laid, daily life can slowly wear the grout down. Here are the most common reasons a crack in tile grout shows up over time.
Heavy weight on the tiles
Sudden changes in temperature, especially near kitchens or balconies
Water seeping in and weakening the grout from below
Using the wrong type of grout for a wet area
Plain old wear and tear after many years of use
Not every crack is a reason to panic. Some are tiny, and some are trying to tell you something important.
Take a look at this table to understand the seriousness of the grout problem:
Level | What It Looks Like |
|---|---|
Small | Thin marks on the top layer only. Grout still feels firm, and nothing is missing. |
Medium | Cracks are getting wider, and some grout feels loose. Small bits come off when scratched. |
Large | Grout is missing in patches, tiles feel loose, and water passes through with ease. |
Once you know how serious the crack is, fixing it is a simple job done in four steps.
Start by looking closely at every joint between the tiles. Check for cracks, gaps, or spots where the grout feels soft or crumbly. Mark the areas that need work so you do not miss any joints later.
Use a small grout removal tool or thin scraper to remove the damaged grout. Work slowly so you do not scratch the tiles on either side. Remove all the loose bits. Leaving old, weak grout behind will only cause the new grout to crack again.
Once the old grout is out, clean the joint fully. Dust, old bits, and grease all stop new grout from sticking well. A dry brush or a vacuum works well here. Let the joint dry completely before moving to the next step.
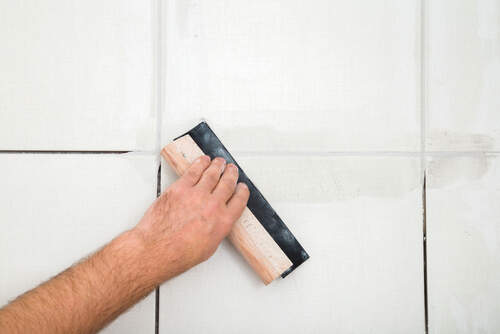
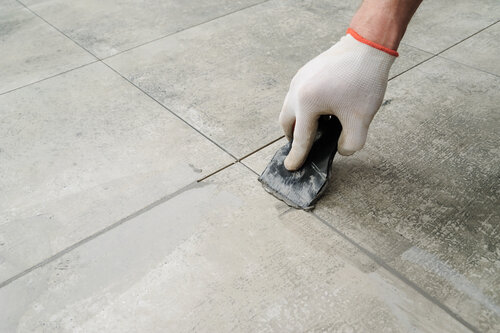
Choose grout suited to the area, especially in wet spaces like bathrooms or kitchens. Mix it exactly as the pack instructs. Press the grout firmly into the joint, wipe away the excess, and let it fully set before using the area again.
Grout is not the only material holding your tiles in place. Tile adhesive plays a big role too, and it directly affects how well the grout performs later.
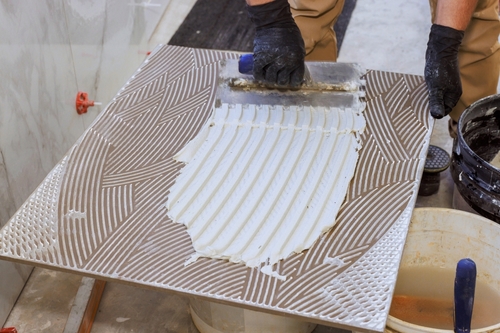
Tile adhesive sticks the tile firmly to the wall or floor underneath it. Understanding the different types of tile adhesive makes it easier to choose the right one for your surface.
If the adhesive is weak or applied unevenly, the tile can shift slightly over time. That tiny shift puts pressure on the grout around it, and cracks often follow soon after.
Tiles need to sit flat, level, and fully adhered before you apply grout. Hollow spots under a tile are a common problem that many people miss. If a tile isn't installed correctly, no amount of good grout can fix the cracks that follow later.
A strong start matters more than most people realise. Tile Adhesive bonds tiles firmly to the surface below, leaving little room for movement or hollow spots. A steady base like this gives the grout a much better chance of staying crack-free for years.
For areas that see a lot of water or daily wear, a stronger grout can make a real difference. Epoxy Grout resists grout cracking, shrinking, and staining, even in busy kitchens and bathrooms.
It also holds its colour and strength much longer than regular cement-based grout, so joints stay neat and solid with far less upkeep.
Quick Checklist to Prevent Grout Cracking ☐ Mix the grout exactly as shown on the pack ☐ Use the right water-to-grout ratio every single time for cement-based grout ☐ Clean and prepare the surface fully before grouting ☐ Pick a grout suited to the area, wet or dry ☐ Make sure tiles are installed with full adhesive coverage ☐ Check your grout lines once a year for early cracks |
Grout might seem like a small detail, but it protects your tiles for years to come. A little care during installation and a quick check now and then can keep your tiles looking strong and neat for a very long time.
You can prevent grout from cracking by mixing it correctly, using the right amount of water, and preparing the surface well before applying it. Choosing a grout suited to the area and making sure tiles are installed properly also helps a great deal.
Epoxy grout resists cracking far better than regular cement-based grout, especially in wet or busy areas. It shrinks much less as it dries, which lowers the chances of gaps forming.
Tile adhesive is the material that sticks the tile to the wall or floor underneath it. Grout fills the small gaps/joints between the tiles once they are placed. Both work together, and a problem with one can eventually affect the other.