Share:
Home Building Guide
Our Products
Useful Tools
Home Building Guide
Products
Share:
From cement, sand, and tile adhesive to protective gloves, proper tools, and epoxy grout, correct materials ensure a smooth installation process.
Preparing the wall for tiling, checking for defects, maintaining optimal temperature, and planning the layout is crucial before beginning the tiling process.
From mixing and applying the mortar to laying the tiles and grouting, each step requires specific techniques for successful wall tile installation.
Ensuring uniform lines, maintaining light pressure, and precise alignment during installation contribute to a flawless wall format.
When learning how to install tile on walls, you will require the following materials to prepare a wall for tiling and creating an aesthetically appealing and durable wall space in your residence.
Remember to keep the cement in a dry place; you are going to need this material to make mortar.
You will need this material to make mortar by mixing it with cement and water.
You can use ready-made tile adhesives available on the market for your wall tile fitting.
Pick out the best quality tiles that suit the aesthetics of your area of wall tile installation.
Wearing protective hand gloves will keep you safe from cement burns and irritation caused by the adhesive used for wall tiles installation.
This material is required in the process of wall tiling to create a touch seal between the tile gaps.
This tool is required for the smooth application of the epoxy grout for wall tiles installation.
A clean, damp sponge will be needed to clean the excess grout from your freshly completed wall tile installation.
This tool is required to make sure you are using the correct amount of materials calculated as per the measurements of the area of to conduct the installation of tiles on wall.
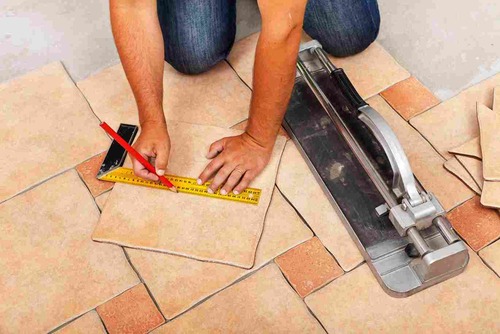
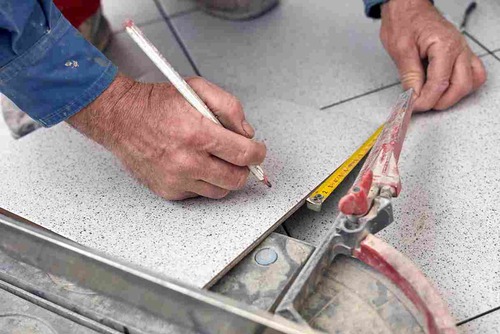
This tool is needed to cut the tiles as per your requirements.
You require a batten to keep the tiles a few inches above the ground.
This tool is required to apply the mortar mix you make for wall tiles installation.
Follow these wall tile installation steps to create a beautiful, durable wall tiles installation in your home décor.
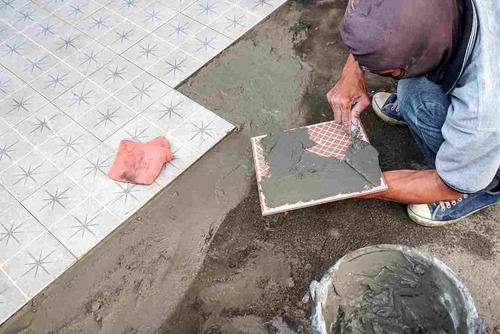
1. Concrete, cured mortar beds, masonry, as well as plywood surfaces that are to be tiled must be flat, dry, structurally sound, and perfectly clean.
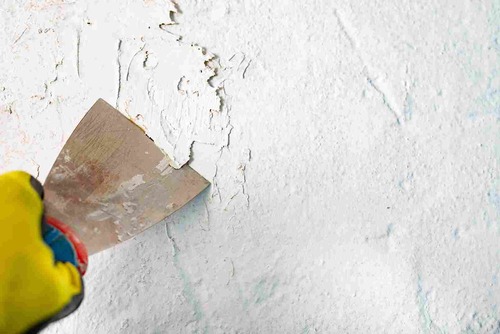
2. All pollutants must be stripped away by sanding, scraping, and perhaps even chipping, or by using PRO-STRIP SEALER & ADHESIVE REMOVER. Any defects must be repaired.
3. Look for mould and damage on the tiling surface of the wall, as cracks may indicate that the wall is weak and needs to be replaced.
4. You can check the wall for softness by pressing against the wall, specifically at the studs. If it feels soft, it may require some work.
5. Remember to use a tiling board as a backer if you are planning to tile a larger surface area instead of putting the tiles directly onto the drywall. Tiling board is a more water-resistant material than drywall and will keep your wall tile installation from cracking or warping.
You must remember to keep the room, your entire wall tiling materials, and adhesives between 10° and 21° for 24 hours before and 48 hours after the wall tiles installation is done.
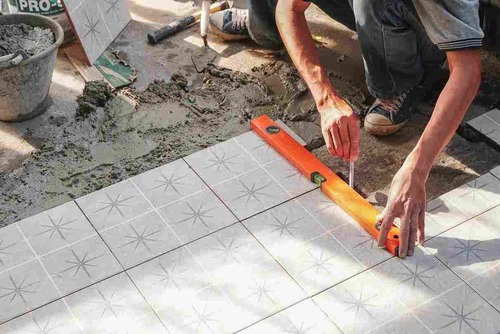
Using a measuring tape and chalk, mark the mid-lines (both vertical and horizontal) of the wall tiles installation surface. This will assist you in keeping your wall tiles straight and splitting the area into tiling sections.
Dry fit your wall tiles to ensure they look almost exactly the way you expect them to.
Now that you're satisfied with the appearance, strategize how the tiles will meet the edges and corners of your wall surface.
You also need to plan the size of the tiles for installation. Start determining whether you need to begin tiling a wall with large tiles or smaller tiles you can measure how much area your wall tiling requires for each row.
1. Make sure a temporary wood batten is a level and placed right above your first row of tile.
2. Once you are done wall tiling above the wood batten, you can remove the temporary batten and begin placing the tiles in the bottom row.
You will need a thin set of mortar for your wall tiles fitting. To make the mortar, while it is suggested to follow the manufacturer’s instructions, you can choose to go with the general thumb rule – begin by adding the powder ingredients (cement and sand) to a bucket and slowly add water to it while simultaneously mixing it. Remember, the mortar must have a peanut butter-like consistency for proper wall tile fitting. You must also allow it to "slake" upon mixing it for the first time, meaning you must let it rest for at least 10-15 minutes before stirring it again.
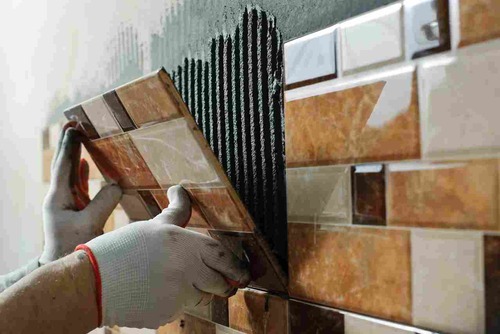
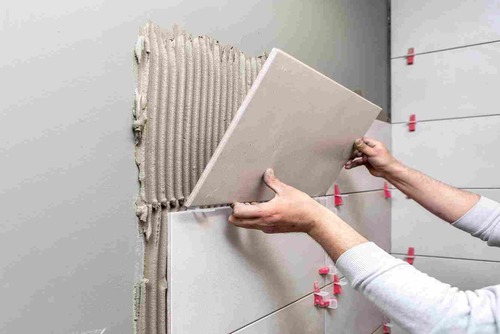
1. You can start by applying the mortar using the flat side of the trowel to initiate surface contact.
2. After this, you can spread the mortar evenly in a ridged pattern with the suggested notch trowel at a 45° angle.
3. Continue to apply the mortar in a long sweeping motion onto the surface in a straight pattern.
With a slight twisting motion, press the wall tile into the mortar and keep checking for uniform lines throughout the process of putting up a wall tile.
While fixing tiles, pressure should be light and alignment should be light.
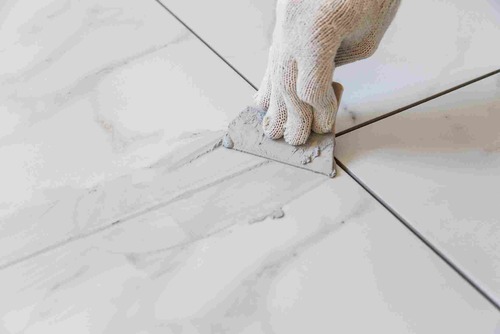
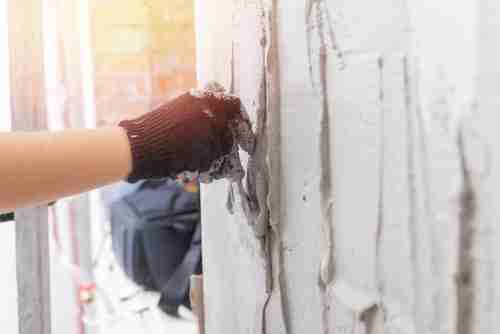
1. After 24 hours, apply the grout to the joints of the tiles and keep the tile surface clean.
2. Spread the epoxy grout using a grout float at a 45° angle and use diagonal swipes to push the grout into the gaps.
3. Use the grout float to remove any excess grout on the tiles and allow it to cure for 20 minutes.
4. Once done, wipe the tiles using a clean, damp sponge to remove the remaining excess grout from the tiles.
5. Seal the tiles using a grout sealer, which will prevent the growth of mould in the gaps.
To better understand how to put tile on walls successfully, you can watch our YouTube video – How to Install Wall Tiles? If you are looking to purchase the best quality epoxy grout for your wall tiles installation, check out the Style Epoxy Grout by UltraTech Cement.