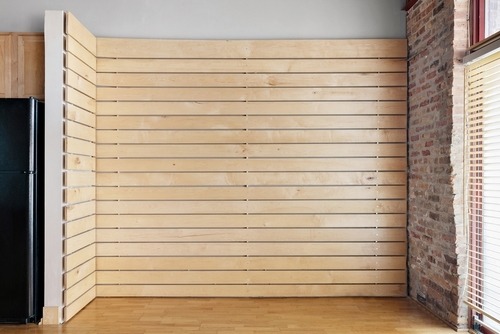
How to Install shiplap?
Installing shiplap is a simple process that can be done with basic tools. Here’s a step-by-step guide:
1. Measure the wall: Ensure your boards are cut to the right length.
2. Level the first board: Start at the bottom of the wall and use a level to keep it straight.
3. Nail or screw boards in place: Secure each board tightly, overlapping them as you go.
4. Repeat the process: Continue adding boards row by row, making sure the grooves align.
5. Finishing touches: Once installed, paint or stain the shiplap to match your room’s design.
What Are the Uses of Shiplap?
Shiplap can be used in various ways to enhance your home:
1. For interior walls
2. On ceilings
3. For exterior walls
4. In bathrooms and kitchens
When to Use Shiplap Over Other Wall Designs
Shiplap offers both functionality and aesthetic value, making it an excellent choice for homebuilders looking to add charm and practicality to their homes. Here are some suggestions for the same:
1. Budget-Friendly Choice
Shiplap is a cost-effective solution. It is cheaper than tiles or wallpaper, and its installation process is more straightforward, saving time and money.
2. Covers Wall Imperfections
Its overlapping design makes it ideal for hiding imperfections, giving uneven walls a smooth, finished look.
3. Durable and Reusable
Shiplap is durable and can be easily repaired if damaged. It can even be reused if removed carefully, making it a practical choice for long-term use.