


Share:
Home Building Guide
Our Products
Useful Tools
Home Building Guide
Products
Ultratech Building Products
Share:
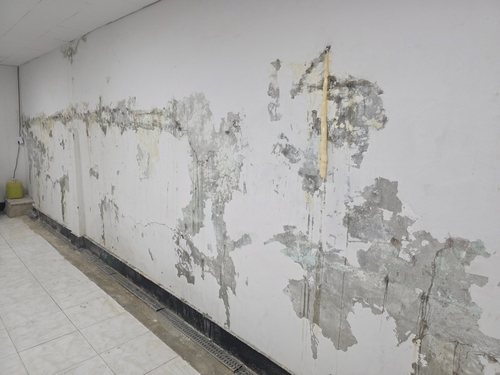
Is Your Wall Showing Any of These Warning Signs?
If you nodded at even one of these, keep reading. This guide is for you. |
Water can enter through very small gaps. A crack in a wall, a weak spot in the grout, or an opening around a pipe can let water in.
Once water enters, the damage can continue even when you cannot see it. Moisture can spread through walls and floors, damage the finish and create problems that become harder and more expensive to repair.
That is why waterproofing works best when you treat it as part of your construction and maintenance plan, rather than waiting for visible damage.
Here is why a waterproofing solution for home protects far more than just its walls.
Water seepage often starts with a small sign. You may notice a damp patch near the ceiling, moisture behind a cupboard or cracked grout near a bathroom drain.
If you leave these signs unchecked, water can move further through the wall and floor. It can invite mould, bad smells, and health problems for your family. Waterproofing seals these entry points before water has a chance to spread and creates a barrier that keeps water away from the areas underneath.
Water weakens the materials it touches over time. It softens plaster, rusts steel inside concrete, and causes cracks in grout to return.
A properly waterproofed house needs far less repair work over the years. It saves you money and stress and gives you a better chance of catching small problems before they become bigger ones.
Here's the Part Most People Don't Know Cracked grout is often the first sign of water damage. It is not the last. Most people repaint or re-grout without checking why the crack returned. If the water below stays unsealed, the same crack comes back within months. Fixing the surface without fixing the source rarely works. |
Waterproofing your home isn't a single task. It is a series of steps. Each step protects a different part of your build.
You need to check the surface, prepare it properly, protect areas that face more water and inspect the work over time. Missing even one step leaves a gap for water to seep in.
Here are the key steps in a complete waterproofing solution.
Before any waterproofing work begins, check every crack properly. This includes cracked grout, thin cracks in walls, and gaps where surfaces meet.
Finding these problems early helps you understand where water may enter before you choose a waterproofing solution for home.
A waterproofing material needs a clean surface to work properly. Dust, loose plaster, old paint and other debris can prevent the material from sticking well.
Clean the area and remove anything loose before applying the next layer. Pay close attention to this step because poor surface preparation can affect the waterproofing work later.
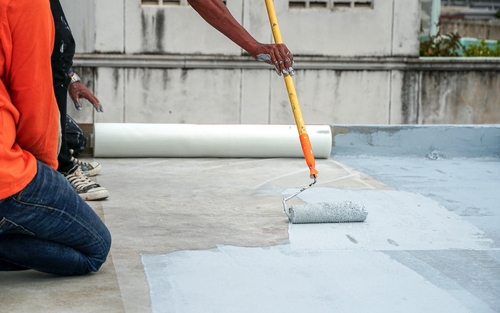
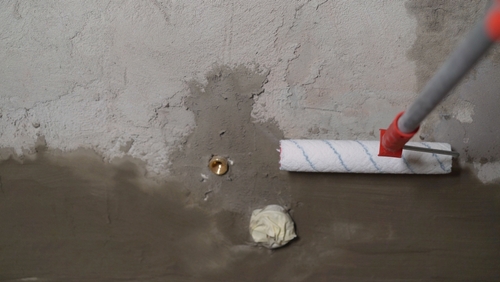
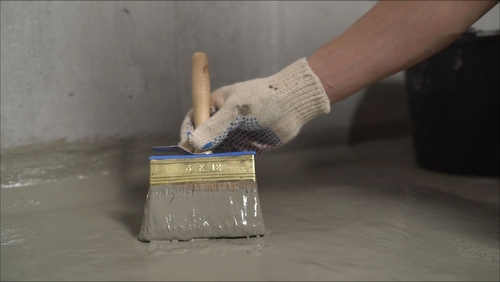
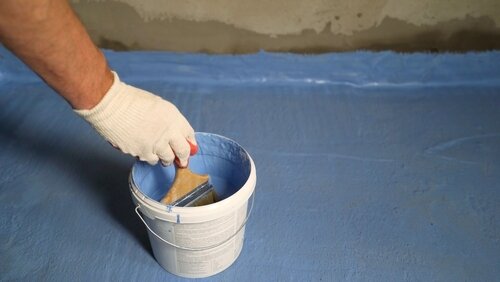
This is where waterproofing chemicals do their job. You apply them as a layer that fills tiny pores and cracks. This creates a barrier that stops water from soaking through concrete, plaster or tiles.
Apply the material according to the recommended method and quantity. A proper application gives the surface a better barrier against water.
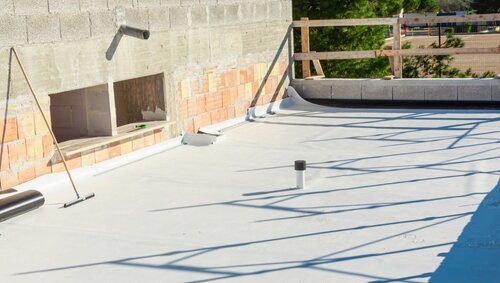
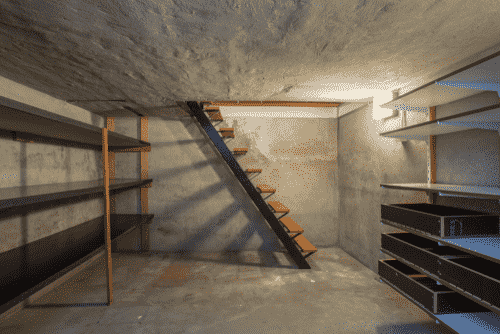
Some areas face water more often than others. Bathrooms, kitchens, terraces, balconies and basements need careful waterproofing because water can collect or remain there for longer. These areas often need an extra layer of protection.
Water-resistant cement can add protection during construction. It helps reduce the tiny spaces in concrete through which water can move.
You can use it along with surface waterproofing methods. While surface protection helps keep water out from the outside, suitable cement-based protection can help reduce water movement within the construction material.
Waterproofing is not a one-time job you can forget about. A yearly inspection, especially after the monsoon, can help you spot damp patches, new cracks or damaged grout early. Small repairs are easier to manage when you catch them in time.
Quick Check: Has Your House Been Waterproofed Here?
Left more than two boxes unchecked? Take another look; water may still have an easy path inside. |
Waterproofing chemicals work in the background, and you feel the difference through fresh walls and zero dampness. They stop water at the surface before it reaches your walls, floors or the steel inside your concrete.
Understanding how they work helps you choose better. Let's break down what waterproofing chemicals actually do.
Waterproofing chemicals form a protective layer over concrete, plaster or tiled surfaces. This layer fills tiny pores and even the finest grout cracks. Water then has nowhere to enter. Without this barrier, water slowly works its way through even the smallest gaps.
Even a good waterproofing material cannot work well on a poorly prepared surface. Dust, loose material, existing damage or incorrect application can affect the final result.
That is why you should first clean and prepare the surface, repair visible damage and then apply the waterproofing material as recommended. Each step supports the next one.
A Fact That Surprises Most Homeowners A crack no wider than a hair can let water in. That water can cause months of hidden damage. People often ignore a cracked grout line because it looks minor. But it stays one of the easiest paths for water to travel through unnoticed. |
A waterproofing chemical works best when it suits the area you want to protect. Bathrooms, terraces, external walls, and basements all face water differently, so choosing the right solution matters.
Look for a waterproofing chemical that is easy to apply, durable and suitable for different parts of your construction. The right product helps create a strong barrier against water seepage and protects surfaces through changing weather and everyday use.
The UltraTech Waterproofing Chemical range protects your house through years of monsoons and daily wear, so you have one less thing to worry about.
Water-resistant cement works best when you use it during construction. It adds an extra layer of protection from the start. It is used for structural parts of the house like foundations and pillars, which are the core strength of the build and cannot be repaired later.
Using water- resistant cement during construction can help reduce the chances of water seepage and the repair work that often follows. This means fewer leakage-related problems later and better protection for years to come.
For stronger protection, you can use water-resistant cement along with surface waterproofing methods. This combination is one of the most reliable home waterproofing solutions available today. It works especially well in areas with heavy rainfall.
Before You Start Building, Check This ☐ Ask your contractor which waterproofing chemical will be used, and where ☐ Confirm if Water-resistant cement will be used in the mix ☐ Plan waterproofing for the terrace, bathroom and basement from day one ☐ Check each year for new cracks in the grout or damp patches A few checks today can save you years of repair work tomorrow. |
Damp patches, peeling paint, and cracked surfaces are common problems people may notice even six months after constructing a house. It can be disappointing to see these issues appear so soon, which is why waterproofing matters.
You can still waterproof your house with the right waterproofing chemicals, even after construction is complete, with careful application.
But if you’re still at the construction stage, using water-resistant cement from the start can help reduce the chances of leakage and repeated repairs later. For more complete protection, combining water-resistant cement with suitable waterproofing chemicals can help protect your construction from within as well as from exposed surfaces.
Waterproofing is not an extra step. It is part of building something that lasts. Plan for it early, and your house will thank you for years to come.
The best solution covers vulnerable areas such as terraces, walls, bathrooms, kitchens and basements, using suitable waterproofing chemicals, proper preparation and regular checks.
Check for cracks and damaged grout, clean the surface, apply suitable waterproofing chemicals, protect high-risk areas, use water-resistant cement where needed, and inspect regularly.
Waterproofing chemicals create a protective layer over surfaces, covering tiny pores and cracks to reduce water seepage into the layers underneath.
Plan waterproofing from the construction stage. Protect areas like terraces and basements before finishing work, and use water-resistant cement in the mix from the start.