


Share:
Home Building Guide
Our Products
Useful Tools
Home Building Guide
Products
Ultratech Building Products
Share:
Ceramic tiles are durable, water-resistant, and easy to maintain in busy areas of the home.
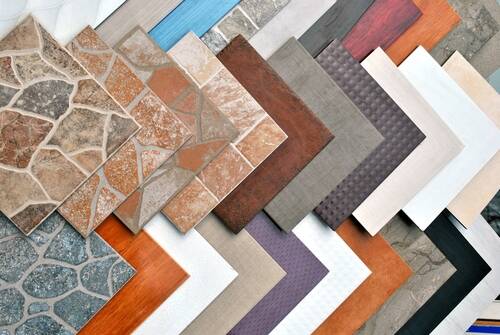
It is a type of floor made using clay tiles. These tiles are available in different colours, sizes, and designs. They are very common in Indian homes.
A well-planned floor installation can improve both the appearance and functionality of a space.
Quick Tip: Before choosing tiles, check where they will be installed. Different rooms may need different tile finishes for better grip and durability. |
Missing one small tool can delay your entire flooring project.
Before starting the flooring work, gather all necessary tools and materials. Having everything ready helps make the work go more smoothly and faster.
Tools required for ceramic tile installation are:
Tool | Purpose |
Measuring tape | Measures the floor area |
Tile cutter | Cuts tiles to the required size |
Notched trowel | Spreads adhesive evenly |
Rubber mallet | Gently sets tiles in place |
Tile spacers | Maintains equal gaps between tiles |
Sponge | Cleans excess material |
Spirit level | Checks tile alignment |
Materials required:
Ceramic tiles
Grout
Clean water
Primer (if required)
Now that the tools are ready, follow these simple steps for installing ceramic flooring.
Clean the surface thoroughly. The floor should be level and dry before beginning the tile installation work.
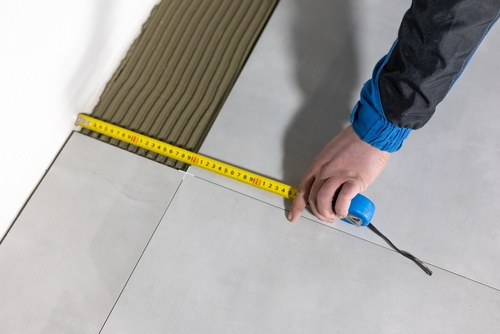
Measure the room and mark reference lines. This helps keep tiles straight and balanced throughout the floor.
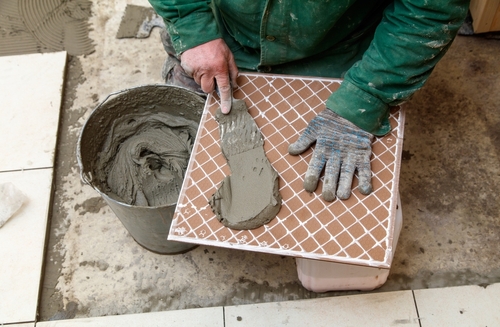
Spread adhesive evenly using a notched trowel. Work in small sections so the adhesive does not dry too quickly.
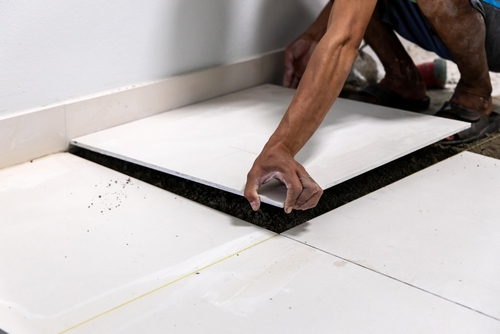
Press each tile firmly into the adhesive. Use tile spacers to maintain equal gaps. Keep checking the alignment.
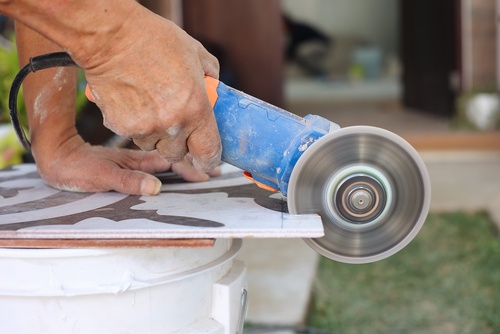
Use a tile cutter to trim tiles around corners, walls, or fixtures.
Leave the floor undisturbed until the adhesive dries completely.
Fill the gaps between tiles with grout. Remove excess grout using a damp sponge.
Once the grout dries, clean the surface thoroughly. Your ceramic floor installation is now complete.
A successful ceramic tile installation starts with proper planning, the right tools, and careful execution. By following the correct ceramic tile flooring installation process and maintaining the floor regularly, you can enjoy a durable, attractive, and easy-to-clean surface that lasts for many years.
The time depends on the size of the area. Small rooms may take one to two days, while larger spaces can take several days, including drying time.
Yes, ceramic tile flooring can sometimes be done over existing flooring if the surface is stable, clean, and level.
Yes. Ceramic tiles are commonly used in bathrooms because they are easy to clean and handle moisture well.
Ceramic tiles are moisture-resistant, but waterproofing may still be recommended in areas such as bathrooms and other wet spaces.